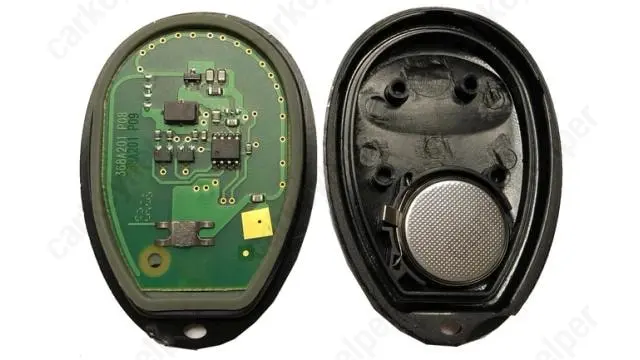

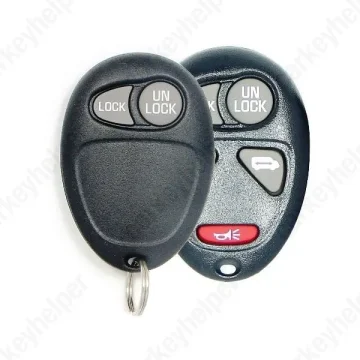
Hummer H3 2006 Remote
GM Remote L2C0007T
Overview
Key Type
Remote
Markets
USA
Frequency
315 MHz433 MHz
Battery
CR2032
Skill Level
Beginner
Universal Keys
KeyDiy 315MHz ID R0009
Test passed
KeyDiy 315MHz ID R0008
Not tested
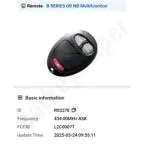
KeyDiy 433MHz ID R03278
Not tested
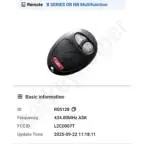
KeyDiy 433MHz ID R05128
Not tested
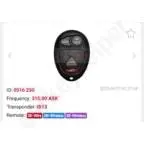
Xhorse 315MHz ID 0516 250
Test passed
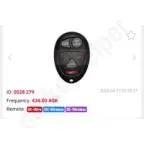
Xhorse 433MHz ID 0528 279
Test passed
Original Keys
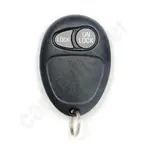
L2C0007T 2Buttons
Direct Programming to another vehicle
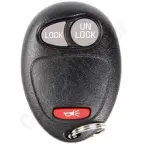
L2C0007T 3Buttons
Direct Programming to another vehicle
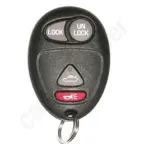
L2C0007T 4Buttons w/ Trunk release
Direct Programming to another vehicle
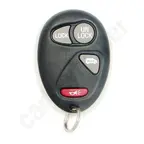
L2C0007T 4Buttons w/ Side door
Direct Programming to another vehicle
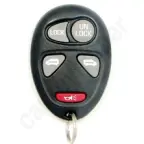
L2C0007T 5Buttons w/ Side doors
Direct Programming to another vehicle
Overview
Add key
OBD
All keys lost
OBD
Prepare dealer key
Not specified
Remote programming
Manual
All keys erased automatically
Yes
Power supply
Recommended (if under 11.5V)
Additional cables required
Not specified
Number of key slots
4
Key Programming via OBD
General Instructions
- PIN code is not required for remote programming.
Remote Manual Programming
Some L2C0007T remotes are programmed via OBD.
NOTE : ALL previously programmed remote transmitters will be erased when procedure is complete.. CLOSE all doors.
PROCEDURE 1
- Collect all remotes you wish to program, including previously working remotes. Remove key from the ignition.
- Remove the MALL /BCM PGM Fuse from the fuse box. Fuse will be named MALL or BCM. Use thelegend on the fuse panel or owner's manual to properly locate the "MALL/BCM PGM" fuse.
- Close all doors and insert key into the ignition.Turn ignition to ACC then back to OFF then back to ACC. (do this step quickly, you will end in the ACCposition)
- IMPORTANT: ACC is the position all the way back towards you, OFF is the position where you can remove the key from the ignition.
- Open and close driver side door, vehicle will chime signaling programming mode.
- Press and hold the LOCK and UNLOCK buttons down on the remote you are programming. Vehiclewill chime twice signaling successful programming. Repeat this step for additional remotes you wouldlike to program to this vehicle.
- IMPORTANT: After 7 seconds, a chime may be heard confirming successful synchronization. It is necessary to wait approximately 14 seconds for a second chime that will confirm successful programming.
- Remove key from ignition.
- Install the "MALL/BCM PGM" fuse back into the fuse panel and test remote(s).
- Programming is now complete.
- IMPORTANT: ACC is the position all the way back towards you, OFF is the position where you can remove the key from the ignition.
- IMPORTANT: After 7 seconds, a chime may be heard confirming successful synchronization. It is necessary to wait approximately 14 seconds for a second chime that will confirm successful programming.
PROCEDURE 2
- Press and hold "UNLOCK" switch on the driver's door
- Insert key into the ignition
- Remove key from the ignition
- Insert key into the ignition
- Remove key from the ignition
- Insert key into the ignition
- Release the "UNLOCK" switch
- A chime will sound three times (programming mode)
- Press both lock and unlock buttons on the remote up to 30s
- A chime will sound two times (remote programmed)
- Repeat step 10 for additional remotes
- Remove the key from the ignition (exit programming mode)
Programmers
Autel
Remote Programming
Xhorse
Remote Programming
Smart Pro
Remote Programming
Overview
Double locked
Not specified
Opening direction (LHD)
Not specified
Decoder capability
Not specified
Overview
Original key glued
No
Synchronizing
No
Repair Instructions
- Separate remotes do not house immobilizer chips.
- There is no need to synchronize or reprogram the key after replacing the battery.
Media

Shell and battery change
Circuitboard
L2C0007T PCB