

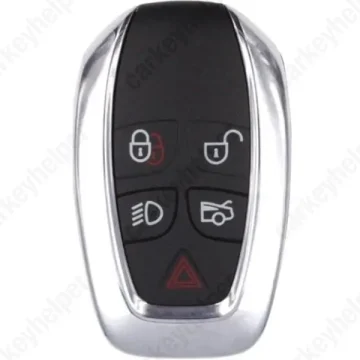
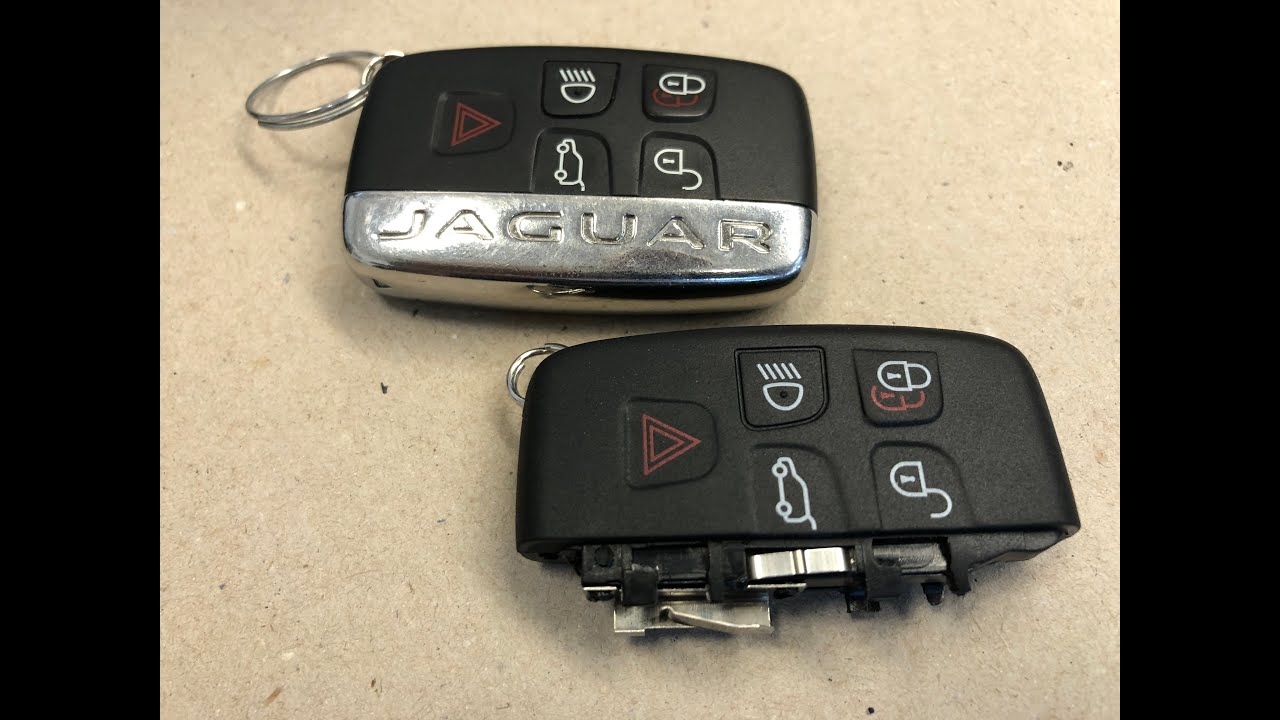
Jaguar XJ 2016 Smart Key
Smart Key
Overview
Key Type
Smart Key
Markets
USA
Transponder
ID49 (PCF7953P / HITAG PRO)
Integrated
Frequency
315 MHz
Battery
CR2032
Transponder Cloning
No
Skill Level
Skilled
Universal Keys
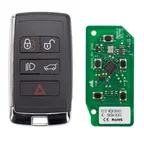
Autel JLR I-Key: ID49 315M old
Not tested
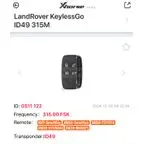
Xhorse 315Mhz: ID 0511 122
Test passed
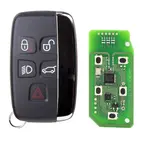
Lonsdor JLR key 315MHz
Test passed
Lock50 JLR key 315MHz
Not tested
Original Keys
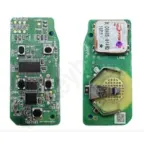
315MHz: AW93-15K601-BF, BJ32-15K601-AB/DF
Overview
Add key
OBD
All keys lost
Eeprom/Bench
System
FK72
Prepare dealer key
No
Remote programming
Automatic
All keys erased automatically
No
Power supply
Recommended (if under 11.5V)
Additional cables required
Yes
Additional cables required (All keys lost)
No
Key Programming via OBD
General Instructions
- For the earlier models up to 2016 - perform key learning directly.
- For the models 2016 and up - use "Key Cloning" function for locked modules.
- For AKL cases "Key Cloning" function can be used via OBD, but some modules might be with updated security and have to perform Eeprom/Bench method.
- If after programming the keys don't work - disconnect the battery for 2-3 minutes and try again.
OBD Location
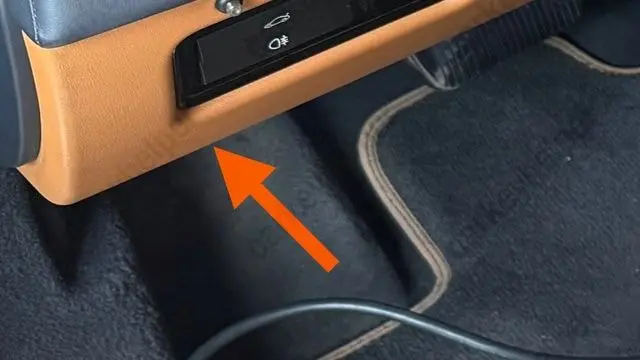
Diagnostic port is located on the left side above the pedals
Emergency Key Spot
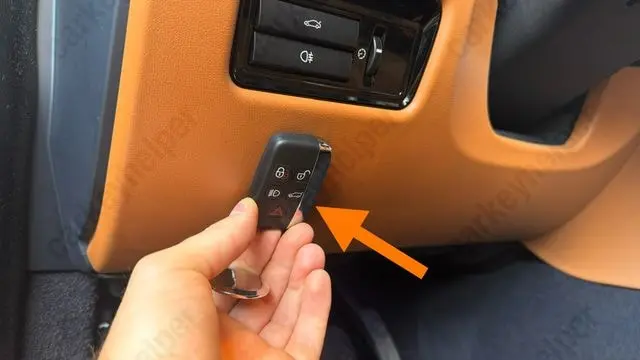
Located on the left side of the steering column.
Additional Cables and Adapters
Add Key
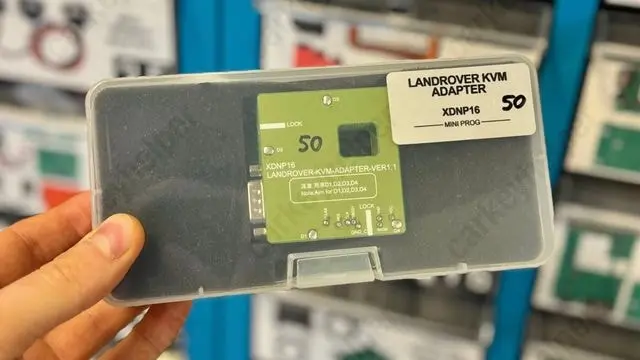
For Eeprom/Bench programming the Xhorse XDNP16 solder-free adapter is recommended. But it is also possible to to solder directly for reading/unlocking the unit using other programmers.
Key Programming via EEPROM
Unit - RFA/KVM
- RFA - Remote Function Actuator
- KVM - Keyless Vehicle Module
Tips for in-circuit reading. Read the "Chip Status" first by connecting with unsecured method, if it is unlocked - choose "Read data (unsecured)".
If chip status is "locked" - choose "Read data (secured).
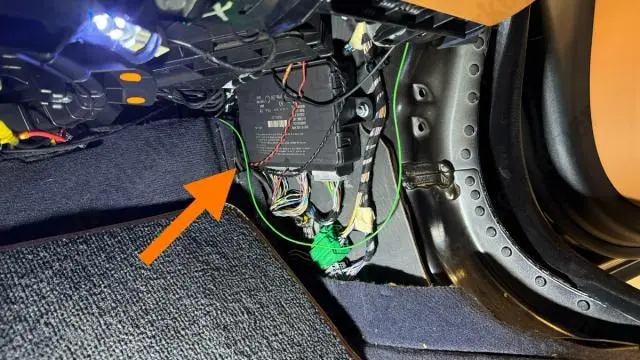
Unit location
The front passenger’s right position.
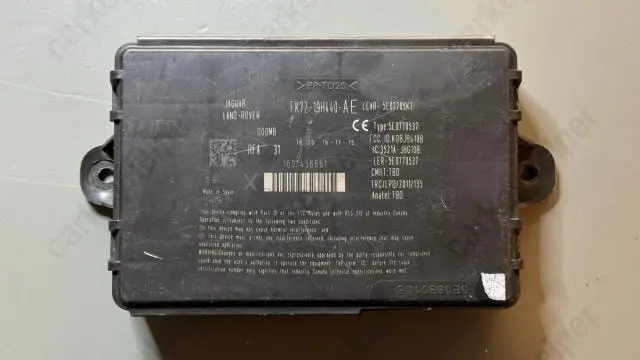
Unit - RFA/KVM
Unit: FK72
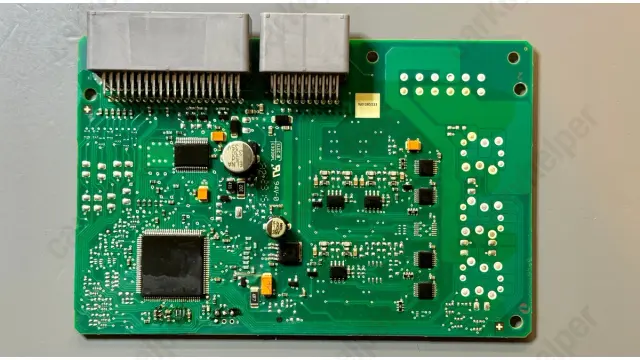
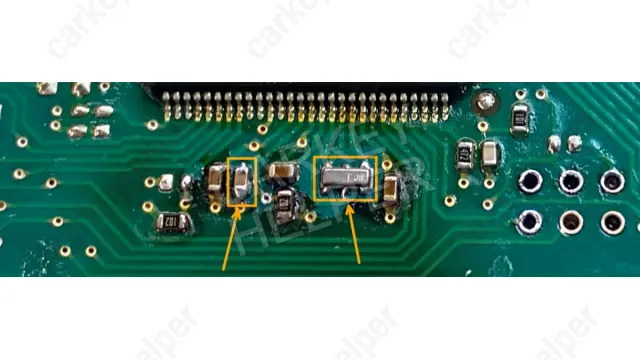
Unit PCB
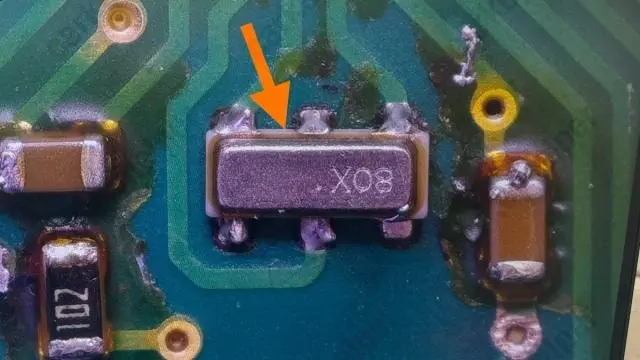
Tips for in-circuit reading
Note! When working with this unit for the first time (in-circuit) you may need to remove the crystal from the PCB if you choose to use soldering method, since there is a high risk to damage it, we recommend purchasing in advance.
Programmers
Autel
Recommended
Immobilizer Programming
EEPROM/Bench Programming
Key via Dump


Abrites AVDI
Recommended
Immobilizer Programming

Xhorse
Recommended
Immobilizer Programming
EEPROM/Bench Programming
Key via Dump


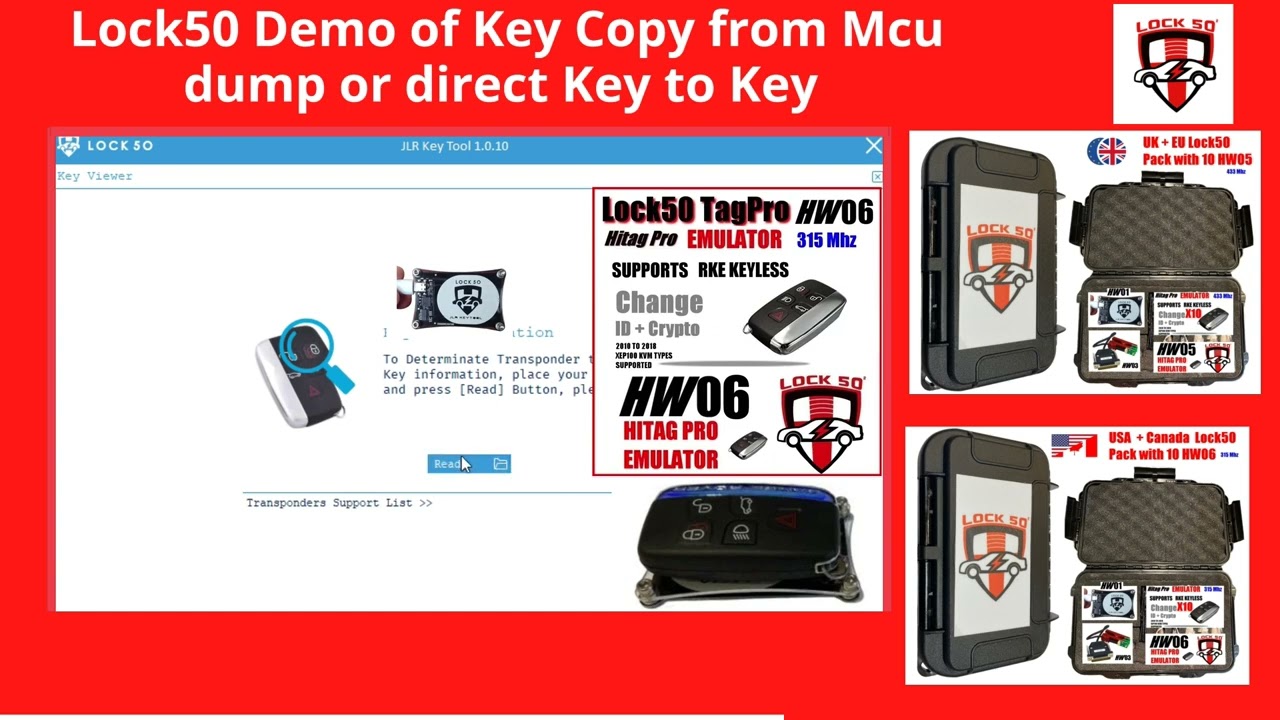
Lock50
Recommended
Immobilizer Programming
EEPROM/Bench Programming
Key via Dump
Lonsdor K518 PRO
Recommended
Immobilizer Programming
EEPROM/Bench Programming
Key via Dump

Yanhua ACDP
Recommended
Immobilizer Programming
EEPROM/Bench Programming
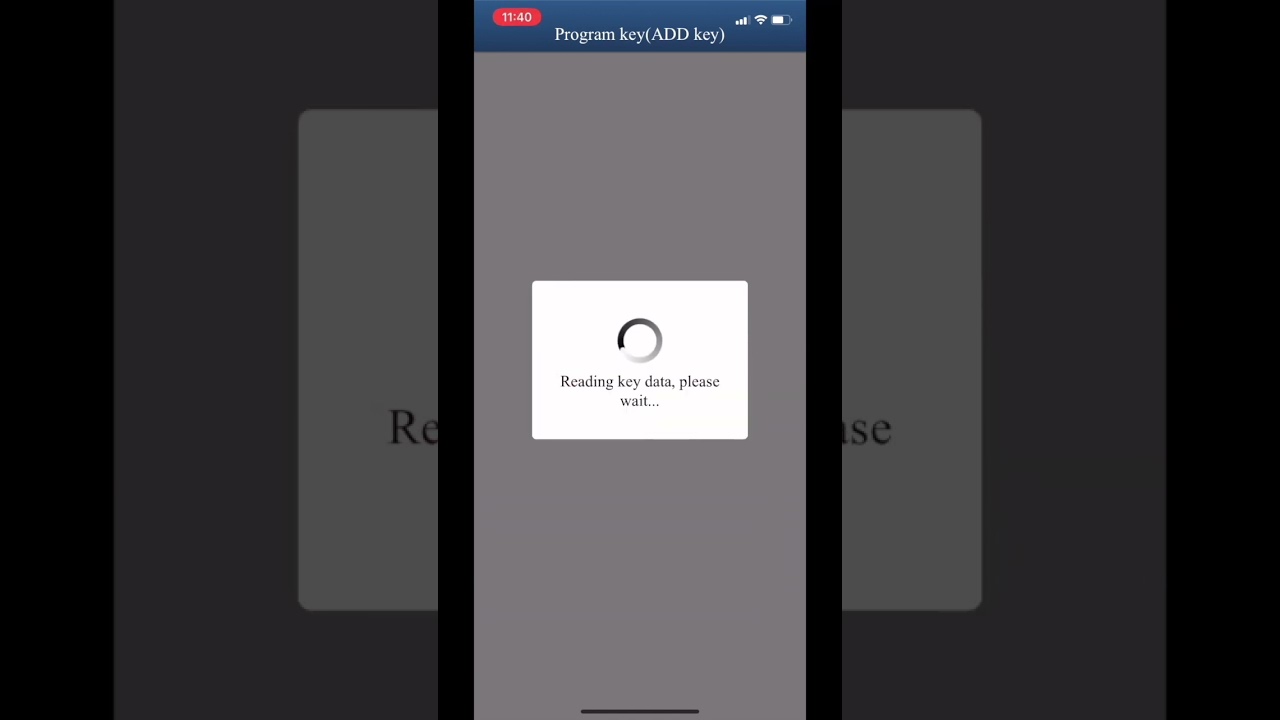

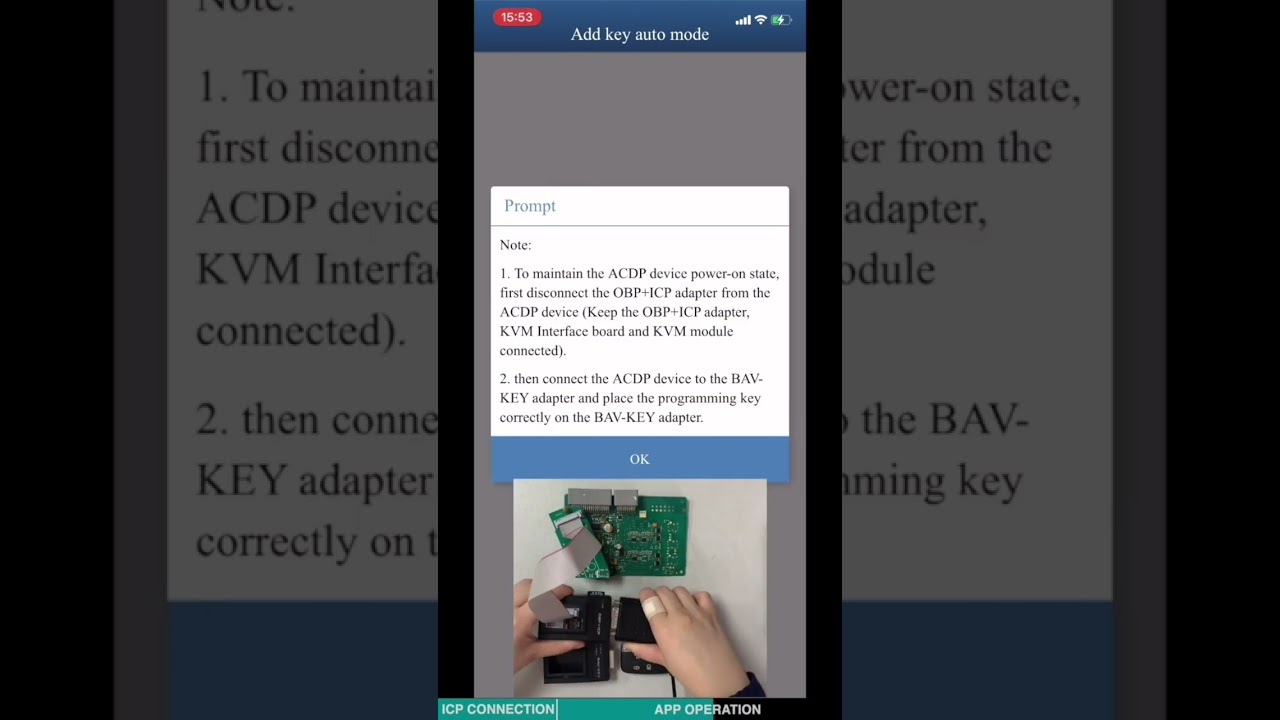
Zed-Full
Immobilizer Programming
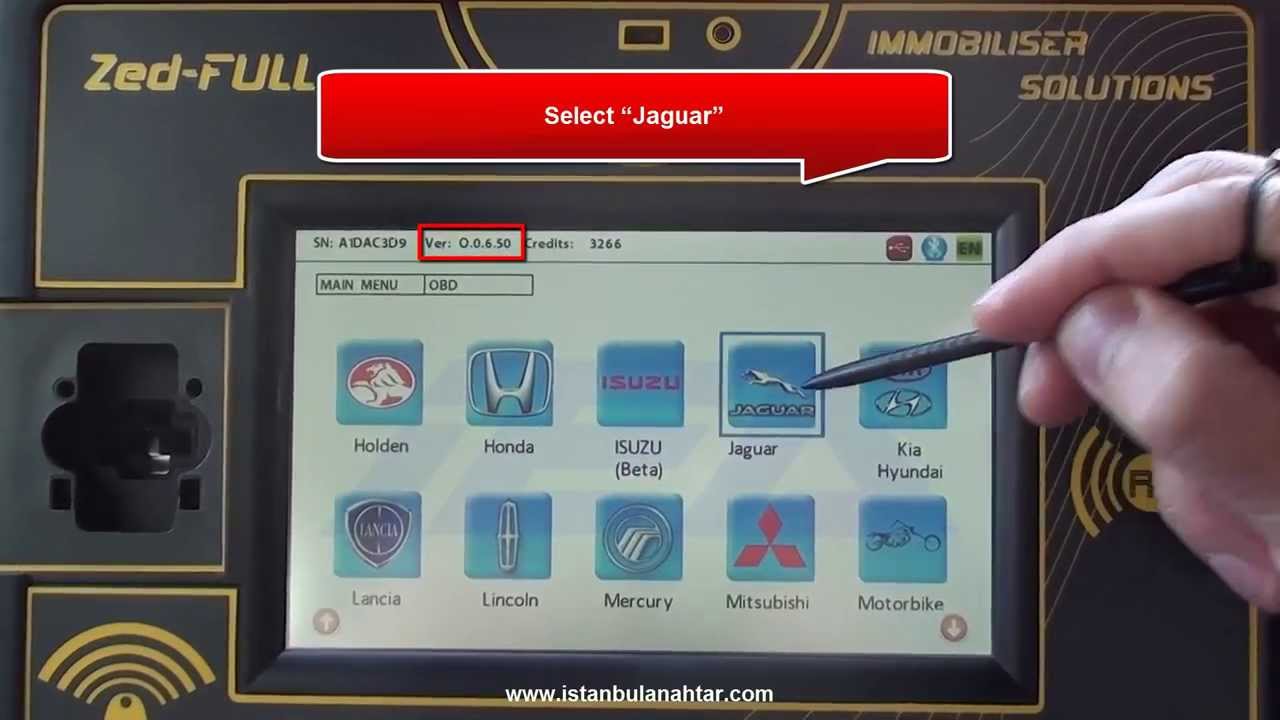
Xtool x100 Pad3
Immobilizer Programming
EEPROM/Bench Programming
Key via Dump

Smart Pro
Immobilizer Programming
MVP / AD100 Pro
Not supported
TDB1000
Not supported
Xhorse VVDI2
Not supported
TMPro2
Not supported
Keydiy KD-X4
Not supported
Overview
Double locked
No
Opening direction (LHD)
Clockwise
Decoder capability
Door Lock
Decoding Tips
- There will never be more than 2 height differences between wafers next to each other.
- Picking this lock requires a very light turning tension.
- No keys contain a depth #1 in the first position.
- All keys contain a depth #2 in the last position.
- There are only five possible cut combinations for the last three positions: 132 (28%), 532 (22%), 312 (20%), 232 (16%), 422 (14%)
- Lishi 2-in-1 decoder for 10 cuts works also for 8 cut locks.
- To decode the lock, read in the SAME direction as it was picked.
Media
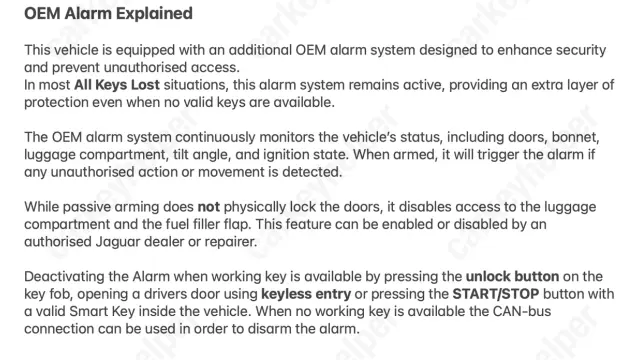
OEM Alarm Explained
Double Locking Explained
Overview
Original key glued
No
Synchronizing
No
Repair Instructions
- All smart keys have an integrated immobilizer chip.
- There is no need to synchronize or reprogram the key after replacing the battery.