

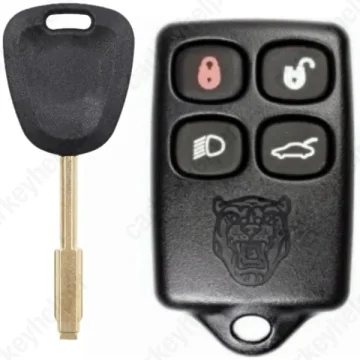
Jaguar XK 1996 Transponder Key
Jaguar Remote Key
Overview
Key Type
Transponder Key
Markets
AUO
Transponder
ID48
Separate
Frequency
433 MHz
Battery
CR2032
Transponder Cloning
Yes
Skill Level
Beginner
Original Keys
Original OEM key recommended
Direct Programming to another vehicle
Overview
Add key
OBD
All keys lost
OBDEeprom/Bench
System
SCR (Immo) + DCM (Remote)
Prepare dealer key
Not specified
Remote programming
Manual
All keys erased automatically
Yes
Power supply
Recommended (if under 11.5V)
Additional cables required
No
Remote Manual Programming
NOTE : ENSURE ALL DOORS ARE CLOSED.
- Insert key to the ignition (do not turn the key).
- Pull the light switch towards you and hold it in such a position that the blue high beam indicator lights up in the instrument cluster.
- Switch ignition to from position 0 to I and release the light switch.
- Use the same light switch three times in the position that blue high beam indicator lights up. You will see a red light next to the gear stick.
- Push any button of the remote 4 or 5 times (the red light should react on every push you make). REPEAT for all additional remote transmitters.
- Check all remote transmitters for operation.
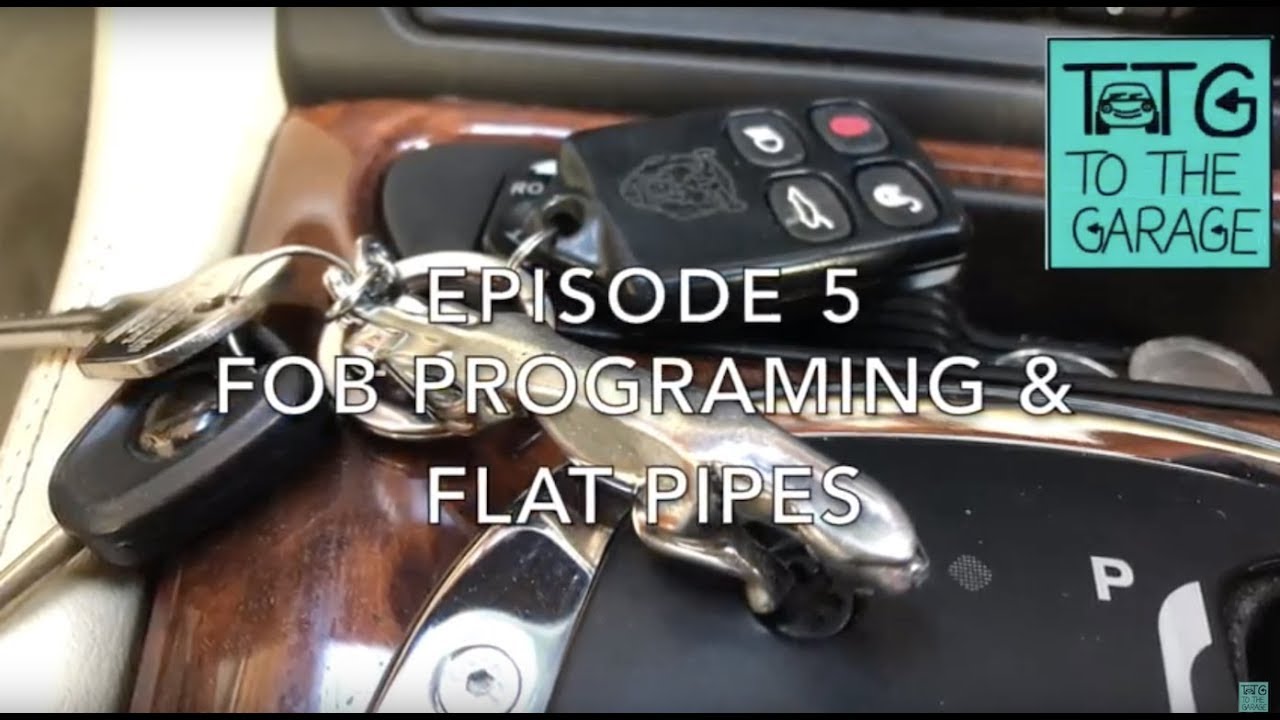
Remote programming procedure
Credit: To The Garage
Programmers
Smart Pro
Immobilizer Programming
MVP / AD100 Pro
Immobilizer Programming
Code Series
(T......) 1234 (Ford, Jaguar, Mazda, Merkur, Aston Martin)
T1051-T2330 (Ford, Jaguar, Mazda, Merkur, Aston Martin)
T1-T1050 (Ford, Jaguar, Mazda, Merkur, Aston Martin)
Overview
Double locked
No
Opening direction (LHD)
Counter-clockwise
Decoder capability
Door LockIgnitionBoot/Trunk
Decoding Tips
The lock has 6 spaces and 4 depths.Every lock has atleats one number four cut. Door lock turns to lock position with all tibbe keys regardless of the cutting. The same six cuts on all four sides of the key.The decoder has 6 pairs of legs, and each of them will need to be rotated to find the correct depth of that position. Your first step will be to find the #4 cut disc and to apply firm pressure on it. Then proceed through all the other positions while gently applying constant counterclockwise pressure on the #4 disc.With the lock open, draw the line based on #4 to read the cutting (picture "Decoding").Decoder jammed while lock removed: use a screwdriver to press on the indicated area in the picture "Tool removal 1", then easily pull decoder out of the lock. Decoder jammed while lock not removed: slide a very thin pick (picture "Tool removal 2") on the underside of the key and push the key back into the lock along with the pick, now hold the pick in place and slide out the key or tool.
Overview
Original key glued
No
Synchronizing
Yes
Media
